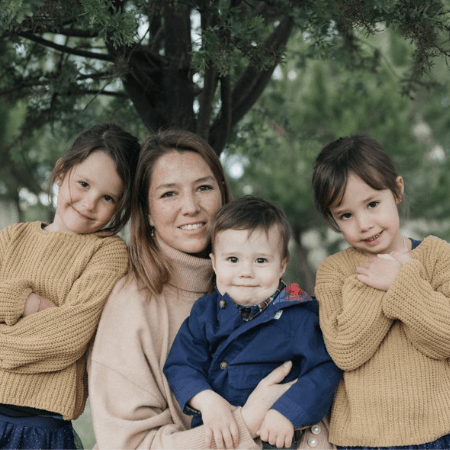
Crafting with @mamarecomienda
On this episode of Mama’s Lunch Box, we are showing you how to turn recycled jars into glittery Calming Jars. This is the perfect project to do with your kids or give them for hours of entertainment.
Our special guest, Katie of @mamarecomienda is an interior designer and mom of three who loves to share her favorite finds, crafts and tips with other parents. She’ll teach us how to reuse jars to make glittery Valentine’s Calming Jars.
Click here to watch on IGTV. Now grab your supplies and follow along!
Benefits of Calming Jars
- Making calming jars can be a fun activity to do with kids since they can choose what to put in it and it makes it their own.
- If they are having a tantrum or a bad day, these jars are so cool to look at it can help calm them.
- Just looking at the jar can help regulate a child’s breathing.
- If you need to remove a child’s soother this can be a nice distraction (like for Destiny’s daughter when they had to let go of her pacifier).
- Anything that helps our children calm down is a good idea!
Tips & Tricks to Use Calming Jars
- If you see your child is building up frustration (ideally before the tantrum starts) show them the calming jar to help regulate their emotions and regain focus.
- Once they are in the tantrum, you can leave them alone, let them kick the pillow, etc. and let them know you are there for them. When they come back to you ready to talk and/or hug you can also use the jar to reinforce the calming effect.
- This is also a great craft idea for grandparents to do with grandkids!
What You’ll Need
- A jar with a lid (mason jars are great)
- Warm water
- Glitter (various colors and sizes)
- Beads, sequins, etc. (optional)
- Glitter Glue
- Regular Glue or Hot Glue (to line the top)
- Food Coloring
- Stick for mixing
How To Do It
- Pour the hot water into the jar and leave about 2 inches on the top.
- Squeeze in your glitter glue into the jar (can you regular glue too). Use your muscles!
- Stir with your mixing stick as you go.
- Add glitter… the more the BETTER! Mix different colors and see what happens.
- Add your beads, sequins or other larger items to add another texture to look at.
- Top off the water - warm or cold is ok.
- Line the inside of the top with glue. This is so important! Use any glue.
- Let the glue on the top dry before handing it to your child.
- For extra fun glue a figure to the inside of the lid for a slow globe effect.
Resources from the Episode
- Follow @mamarecomienda for parenting support & more crafts like this one
- Buy your supplies at your local craft store and if you can, support family owned businesses like Craft Warehouse.
If you’d like to listen to more live chats, you can check out the whole IGTV series at www.instagram.com/redandoliveco/channel/
Produced in partnership with The Purpose Pilot.


